
Tools
Dog clicker training and whistle recall basics
Mark the exact right moment, then pay. Clear sounds beat muddy “good dogs” shouted half a second late.
Your dog sits. You fumble for a treat. By the time you say “yes,” they’ve already stood up and sniffed the floor. The payment arrives, but for the wrong picture.
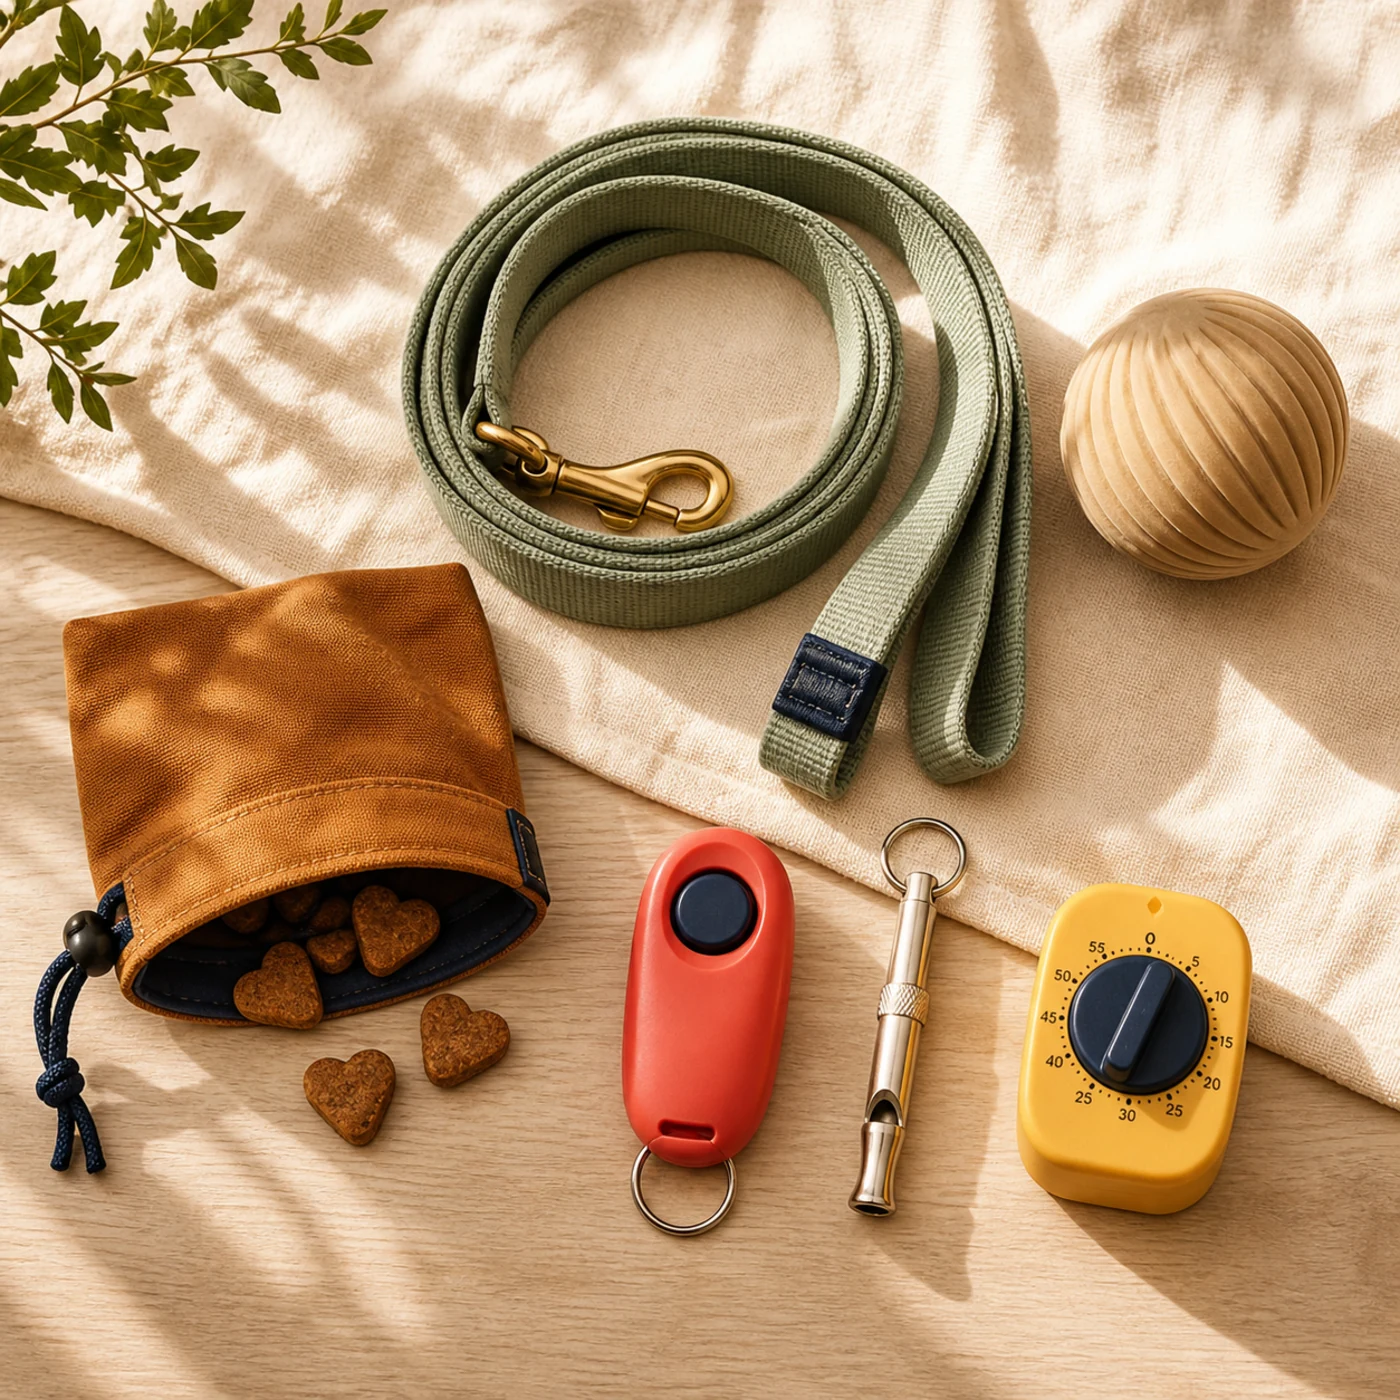
A clicker or whistle is a timing tool. It marks the exact moment so the reward can arrive a beat later without muddying the lesson. DogPath keeps a dog clicker app and tunable dog whistle sounds in your pocket, ready beside the training plan.
Charge the marker before you shape skills
Click or mark, then immediately deliver a treat. Repeat until the sound predicts payment. You are not asking for sits yet. At this stage, you are teaching that the sound means good news is coming.
Keep it short. A handful of clean pairings is enough to begin.
Marker first, treat second. Treat before marking and you lose the timing advantage.
Mark the moment, then pay
Use the click the instant the behavior happens: butt on floor, glance to you, step into heel position. Then reach for the reward. Late clicks teach a different moment than you intended.
If you miss, skip the click and try again. Random clicking without a plan confuses the picture. If you already clicked by mistake, pay anyway, then reset more carefully.
Add cues after the behavior is reliable
First get the action happening willingly. Then add your verbal or whistle cue just before the behavior, mark, and pay. Saying the cue while the dog is lost in distraction teaches them to ignore it.
Whistles shine for distance attention or recall because the sound carries cleanly. Protect the meaning with good payoffs, same rules as any other cue.
- Charge marker → capture or lure behavior → mark → pay
- Add the cue only when success is likely
- Keep one clear meaning per sound
- Practice in easy places before busy ones
Pick the marker you’ll actually use
A clicker is precise and consistent. A spoken “yes” works when your timing is good and your tone stays steady. A whistle helps outdoors and at distance.
You don’t need all three. Choose the one that fits daily life. DogPath’s in-app tools make it easy to keep clicker and whistle sounds with your lessons, no drawer of gadgets required to start.
Keep tools in their place
Markers support training; they don’t replace criteria, management, or fair difficulty. A clicked bad setup is still a bad setup.
If your dog is sound-sensitive, lower volume, switch to a soft verbal marker, or work with a professional on a gentler plan. Pair tools with today’s lesson or a problem program so practice stays purposeful.
Condition the sound before asking it to carry a skill
A clicker begins as a neutral sound. Pair click then treat repeatedly until the sound reliably predicts reinforcement. The click marks the exact behavior that earned the reward; it does not summon the dog or replace payment. Once conditioned, click one clear moment, four paws on the floor, eye contact, or the instant the leash softens, and follow with the reward.
A whistle also needs a deliberate history. Choose a consistent tone and pair it with high-value reinforcement at close range before using it outdoors. Different household members should use the same signal pattern. If the whistle becomes background noise or is repeated when the dog cannot respond, its value weakens just like an overused verbal cue.
Improve timing by practicing away from the dog
Marker timing is a mechanical skill. Ask a friend to bounce a ball and click at the instant it touches the floor, or watch a video and mark a chosen movement. This removes the pressure of managing rewards, leash, environment, and dog at once. The marker should identify one moment, followed by reinforcement even if you clicked imperfectly.
Keep the device easy to reach and rewards already portioned. Fumbling for the phone or food changes timing and can pull the dog out of position. DogPath’s clicker and whistle tools are useful when they reduce setup friction; a physical device may be more convenient in wet weather or when the phone needs to stay safely stored.
Choose the tool for clarity, not intensity
A louder or sharper signal is not automatically more effective. The goal is a consistent cue the dog can perceive without discomfort. Start at a sensible volume and distance, observe body language, and never use sound to startle, punish, or interrupt fear. Dogs with sound sensitivity need especially careful choices and may be better served by a verbal or visual marker.
Markers and cues play different roles. The click says, “that exact behavior earned reinforcement.” A whistle may cue recall or attention. A release word tells the dog the behavior is finished. Keeping those jobs separate makes learning clearer and helps everyone in the household use the same system.
Read the session
How to know the plan is working, or already too hard
Progress is not one perfect attempt. Look for a pattern across comparable short sessions: clearer responses, faster recovery, willing re-engagement, and less help from the setup. Body language matters alongside the visible behavior.
Signs the level is workable
- The dog responds to the conditioned sound without concern
- One marker identifies one observable moment
- Every marker is followed by reinforcement
- Household members use the same signal consistently
Signs to make it easier
- The sound startles or worries the dog
- Clicks happen after the dog has changed position
- Whistle cues are repeated without a response
- Volume or intensity replaces a reinforcement plan
Choose the next change
Practice timing on an easy behavior or away from the dog, then return at low distraction. Keep marker, cue, and release signals in separate roles so each remains clear.
Before the next session, prepare rewards, choose the starting location, and decide what will count as complete. Change distance, duration, or distraction one at a time. If the dog cannot eat, disengage, recover, or move comfortably, stop treating the moment as an ordinary training plateau.
Before you begin
A fair-session checklist for this training goal
The exercise matters, but the conditions around it often decide whether learning is possible. Use this five-part check before the first cue. It takes less time than repairing a session that began too hard.
Outcome
Name one visible behavior and a finish line for today. Avoid broad goals such as “be calm” or “listen better.” Another person should be able to watch and tell whether the criterion happened.
Environment
Choose the quietest practical version of the real scene. Check surfaces, space, exits, people, dogs, sounds, and movement. Create enough distance for your dog to eat, recover, and re-engage.
Reinforcement
Prepare rewards before the cue. Match their value to the competing environment and decide where delivery should happen so it supports the next repetition instead of pulling the dog out of position.
Management
Decide how you will prevent the unfinished behavior from being rehearsed between attempts. That may mean a gate, barrier, long line, quieter route, prepared chew, greater distance, or skipping the difficult situation today.
Stop condition
Finish when the written criterion is met, focus drops, or body language says the level is no longer comfortable. Stopping early protects clarity. You can repeat the same small step later without losing progress.
After the session: make one decision
If the behavior was repeatable and your dog stayed engaged, repeat once more or raise distance, duration, or distraction by a small amount next time. If it was inconsistent, improve setup or rewards before replacing the goal. If pain, panic, aggression, bite risk, sudden change, or prolonged distress appears, stop the ordinary training plan and involve the appropriate veterinarian or qualified professional.
From article to action
Turn this guide into a practice week
Keep the goal stable long enough to see a pattern. Three or four tiny sessions across a week reveal more than one long attempt in a difficult environment.
Find the baseline
Condition one marker or whistle signal with ten calm sound-then-reward pairings.
Build one layer
Use it for one easy behavior and review whether your timing identifies the intended moment.
Generalize carefully
Practice in a new location at low distraction before adding distance or competing activity.
What to record
- Signal used
- Dog’s response
- Timing mistake noticed
- Reward delivered
Change only one major variable at a time. If success drops, return to the last version your dog could perform with relaxed, engaged body language.